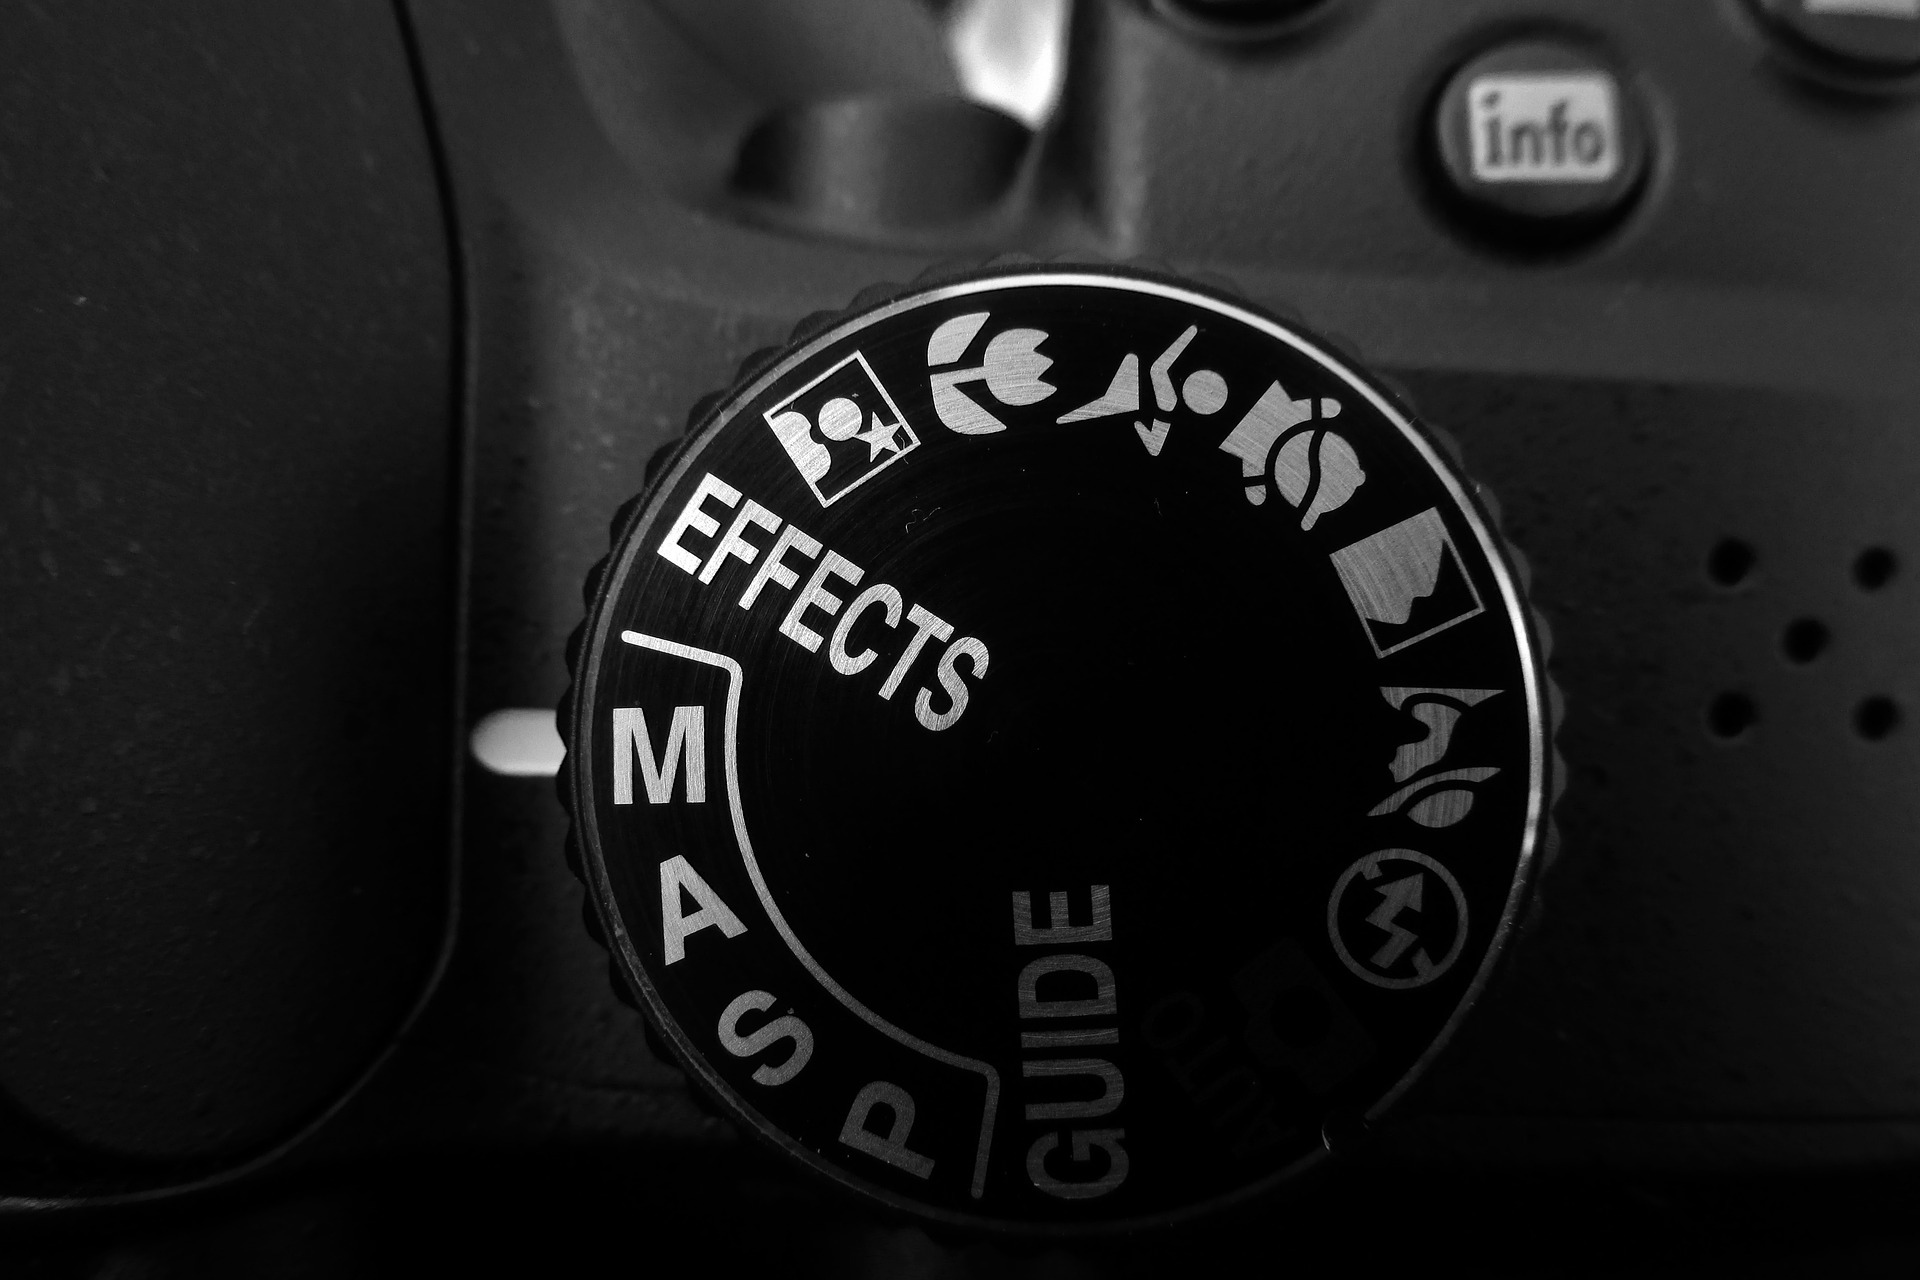
Which camera mode is best? P, A, S, M, Av or Tv
Learn the best camera modes for photographing landscapes, wildlife and people.
P = Program Mode
A or AV = Aperture Priority
S or TV = Shutter Priority
M – Manual Mode
Audio Script
Hi I’m Garry Wilcox from One Sky Photography Courses. Today we’re taking about which camera mode you should use. I’ve got a free cheat sheet summarising this lesson you can download from the resources page at oneskyphotography.com.au
Firstly, there’s not one mode you should always use. Don’t think you should always use manual mode. All the modes have advantages and disadvantages depending on what your photographing and how much time you have.
Remember the goal is to capture great moments and the camera is just the tool. You don’t want to be spending all your time thinking about technical stuff that u miss moments.
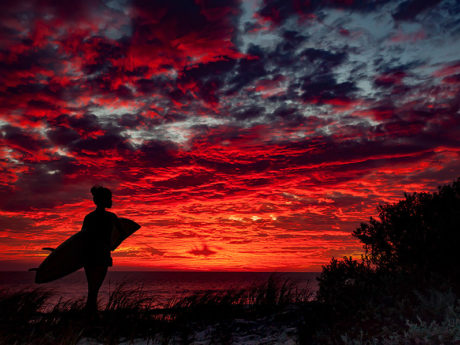
Auto mode usually works fine in easy lighting situations. For example, when the sun is behind you the photographer illuminating the subject. It doesn’t work so well in difficult lighting situations such as backlighting. When the sun is setting behind your subject they will usually be too dark.
The other issue with Auto mode is you usually don’t get consistency. Sometimes it works and sometimes it doesn’t.
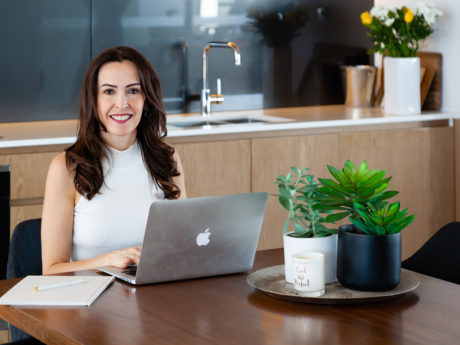
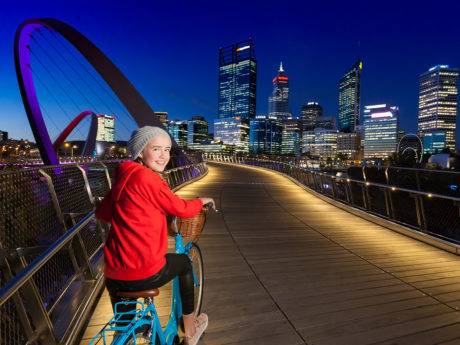
The next step up is the scene modes. In the scene modes, you are telling the camera what you are photographing and the camera will choose the best default settings for that subject. For example, if you’re taking a portrait you usually want the background blurry so all the attention is on the person you are photographing. If you choose the portrait scene mode the camera is likely to choose the best settings to give you that blur.
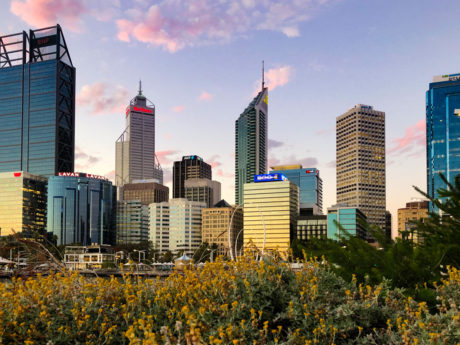
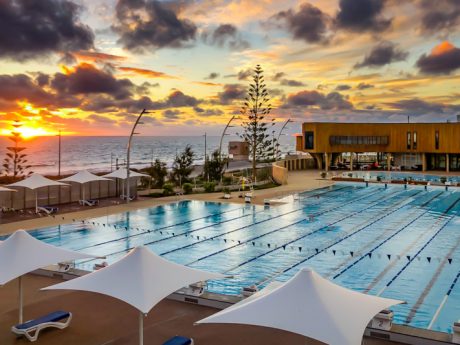
If your photographing a landscape you can select this scene mode by finding the mountain icon. Usually when we take a landscape photo we want both the foreground and the background sharp. In this scene mode, the camera is likely to choose the best default settings to give you this sharpness.
In summary scene modes are fully automatic so there’s no guarantee you will get exactly what you want but you are more likely to get a better result than the general Auto because you are telling the camera what you are photographing.
P mode or Programme mode is a fantastic mode when u don’t have time to think. It’s fully automatic just point and shoot but you’ve got more control than Auto or Scene modes. One of the great things you can control in P mode is the exposure compensation to make your next photo brighter or darker. This is designated by plus or minus button. On some Canon cameras, you need to press the Q button first. By pressing the plus or minus button and rotating the dial you can add or take light from your next image.
In P mode, you can also control your flash and choose your focus mode and points.
A or AV mode stands for Aperture Priority. This is a great mode that a lot of professional photographers will use as their ‘go to mode’ when photographing stationary subjects because you can control how blurry or sharp the background is.
In this mode you control the Aperture or F number which is a hole in the lens that can get bigger or smaller. This controls how much light gets through. Just like your eye is an aperture and can get bigger or smaller depending on how bright it is.
By adjusting this aperture I change how blurry or sharp the background and foreground of the image is. If I’m taking a portrait and I want the background to be blurry I can choose a small F number and I get a small area sharp.
If I’m doing a landscape photo I’ll choose a big F number and I get a big area sharp.
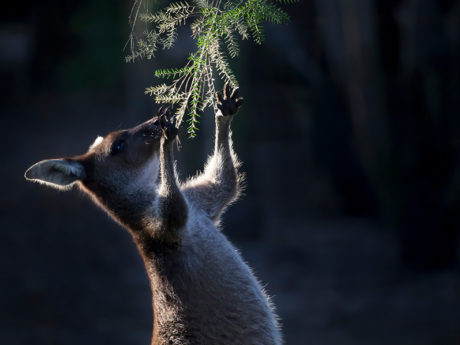
S or TV mode stands for Shutter priority and this is a great mode for photographing moving subjects.
Most cameras allow you to choose a shutter speed between 1/4000 of a second and 30 seconds.
If you choose a fast shutter speed 1/1000 second you will freeze action. If you choose a slow shutter speed you will create motion blur.
Bird photographers and sports photographers usually choose a fast shutter speed to freeze their subject.
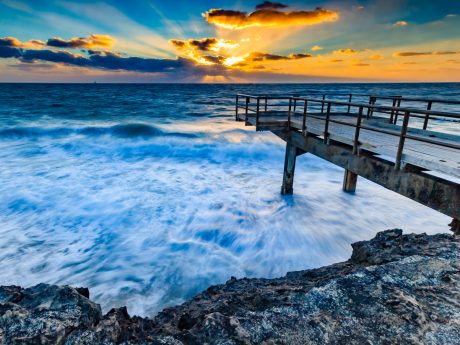
Landscape photographers may want to get that silky water effect so will often choose a slow shutter speed and use a tripod.
Playing around with different shutter speeds is a great way to get creative images.
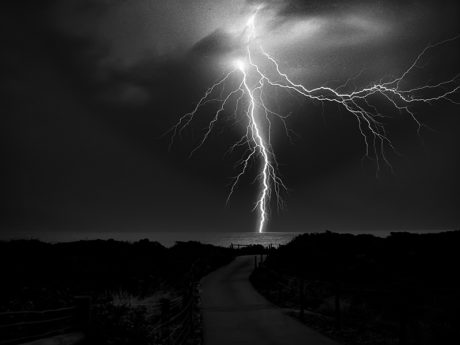
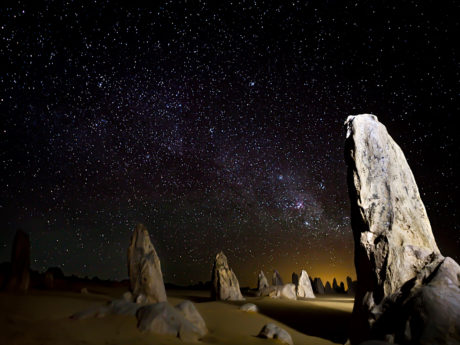
Manual mode is my go to mode for night photography.
First I choose an ISO which is the -cameras sensitivity to light. If I’m using a tripod I can choose a low ISO. Then I choose my aperture. Then I adjust my shutter speed to get a correct exposure
So, that’s my summary of the camera modes. I’ve created a simple cheat sheet that summarises each of these modes. Head to the resources page at oneskyphotography.com.au and you can download for free.
Please like and subscribe to see more videos. If you have any questions you can let me know in the comments below.
I run a range of photography courses in Perth, Western Australia. Visit my website for more information.


Comments